Installation
Two steps: install Blender itself, then install this addon into Blender.
1. Installing Blender
Blender is the free 3D software this addon plugs into. The addon is built and tested against Blender 4.5.7 LTS, so use that exact version. Other versions may behave unexpectedly or fail to load the addon at all.
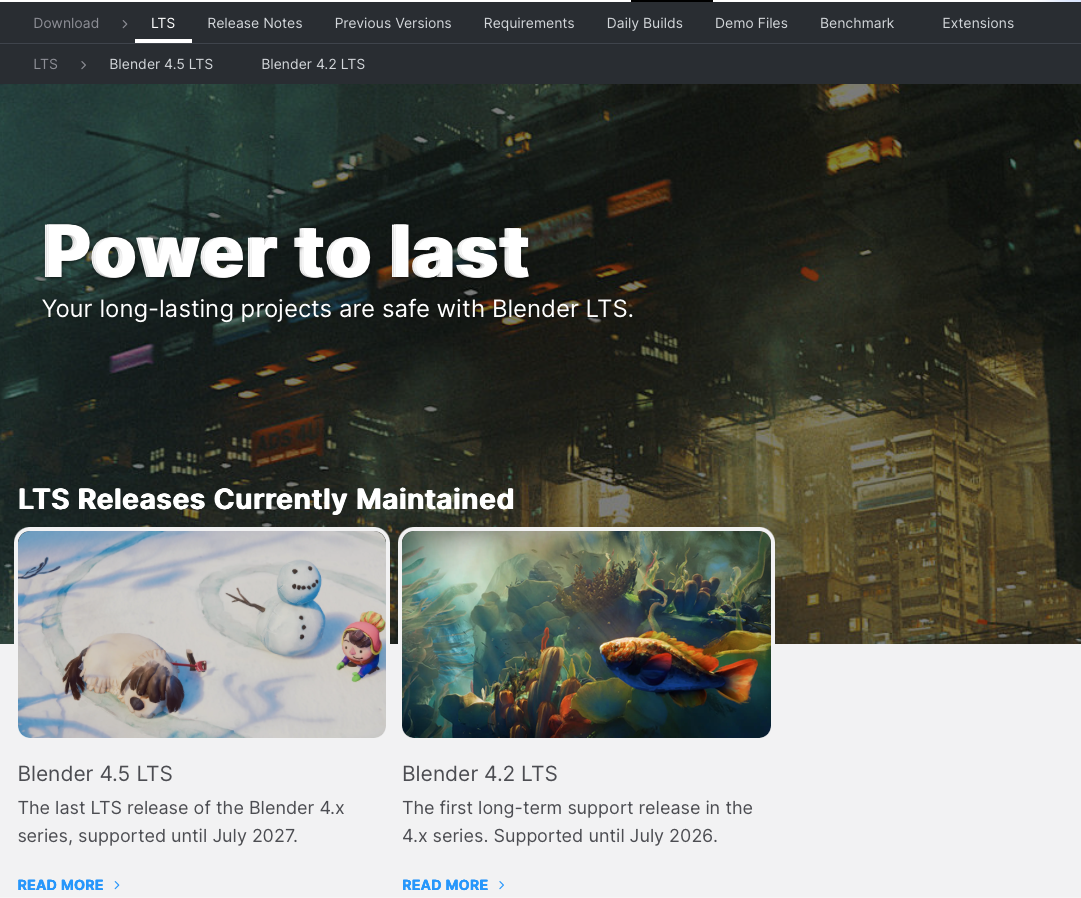
Step 1 — Download Blender 4.5.7 LTS
Go to blender.org/download/lts and pick the 4.5 LTS download for your operating system (Windows, macOS, or Linux). LTS stands for "Long Term Support" — it's the version Blender keeps stable for years.
Step 2 — Run the installer
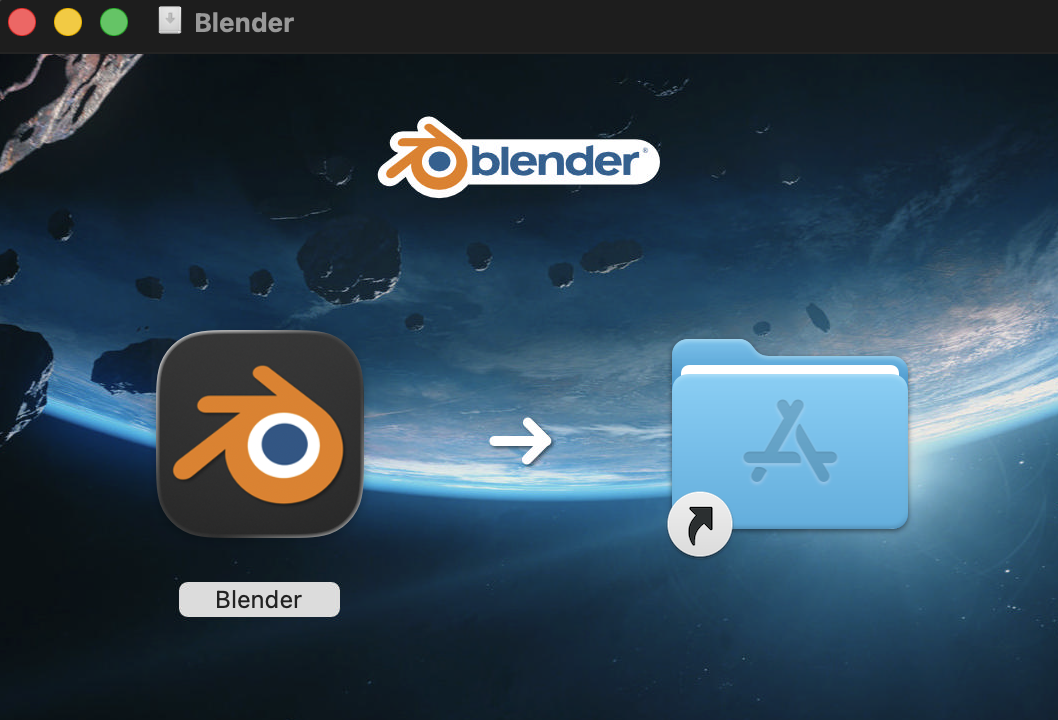
Open the file you just downloaded and follow the prompts. On Windows it's a standard installer;
on macOS, drag the Blender app into your Applications folder; on Linux, extract the archive somewhere
and run the blender binary.
Step 3 — Launch Blender
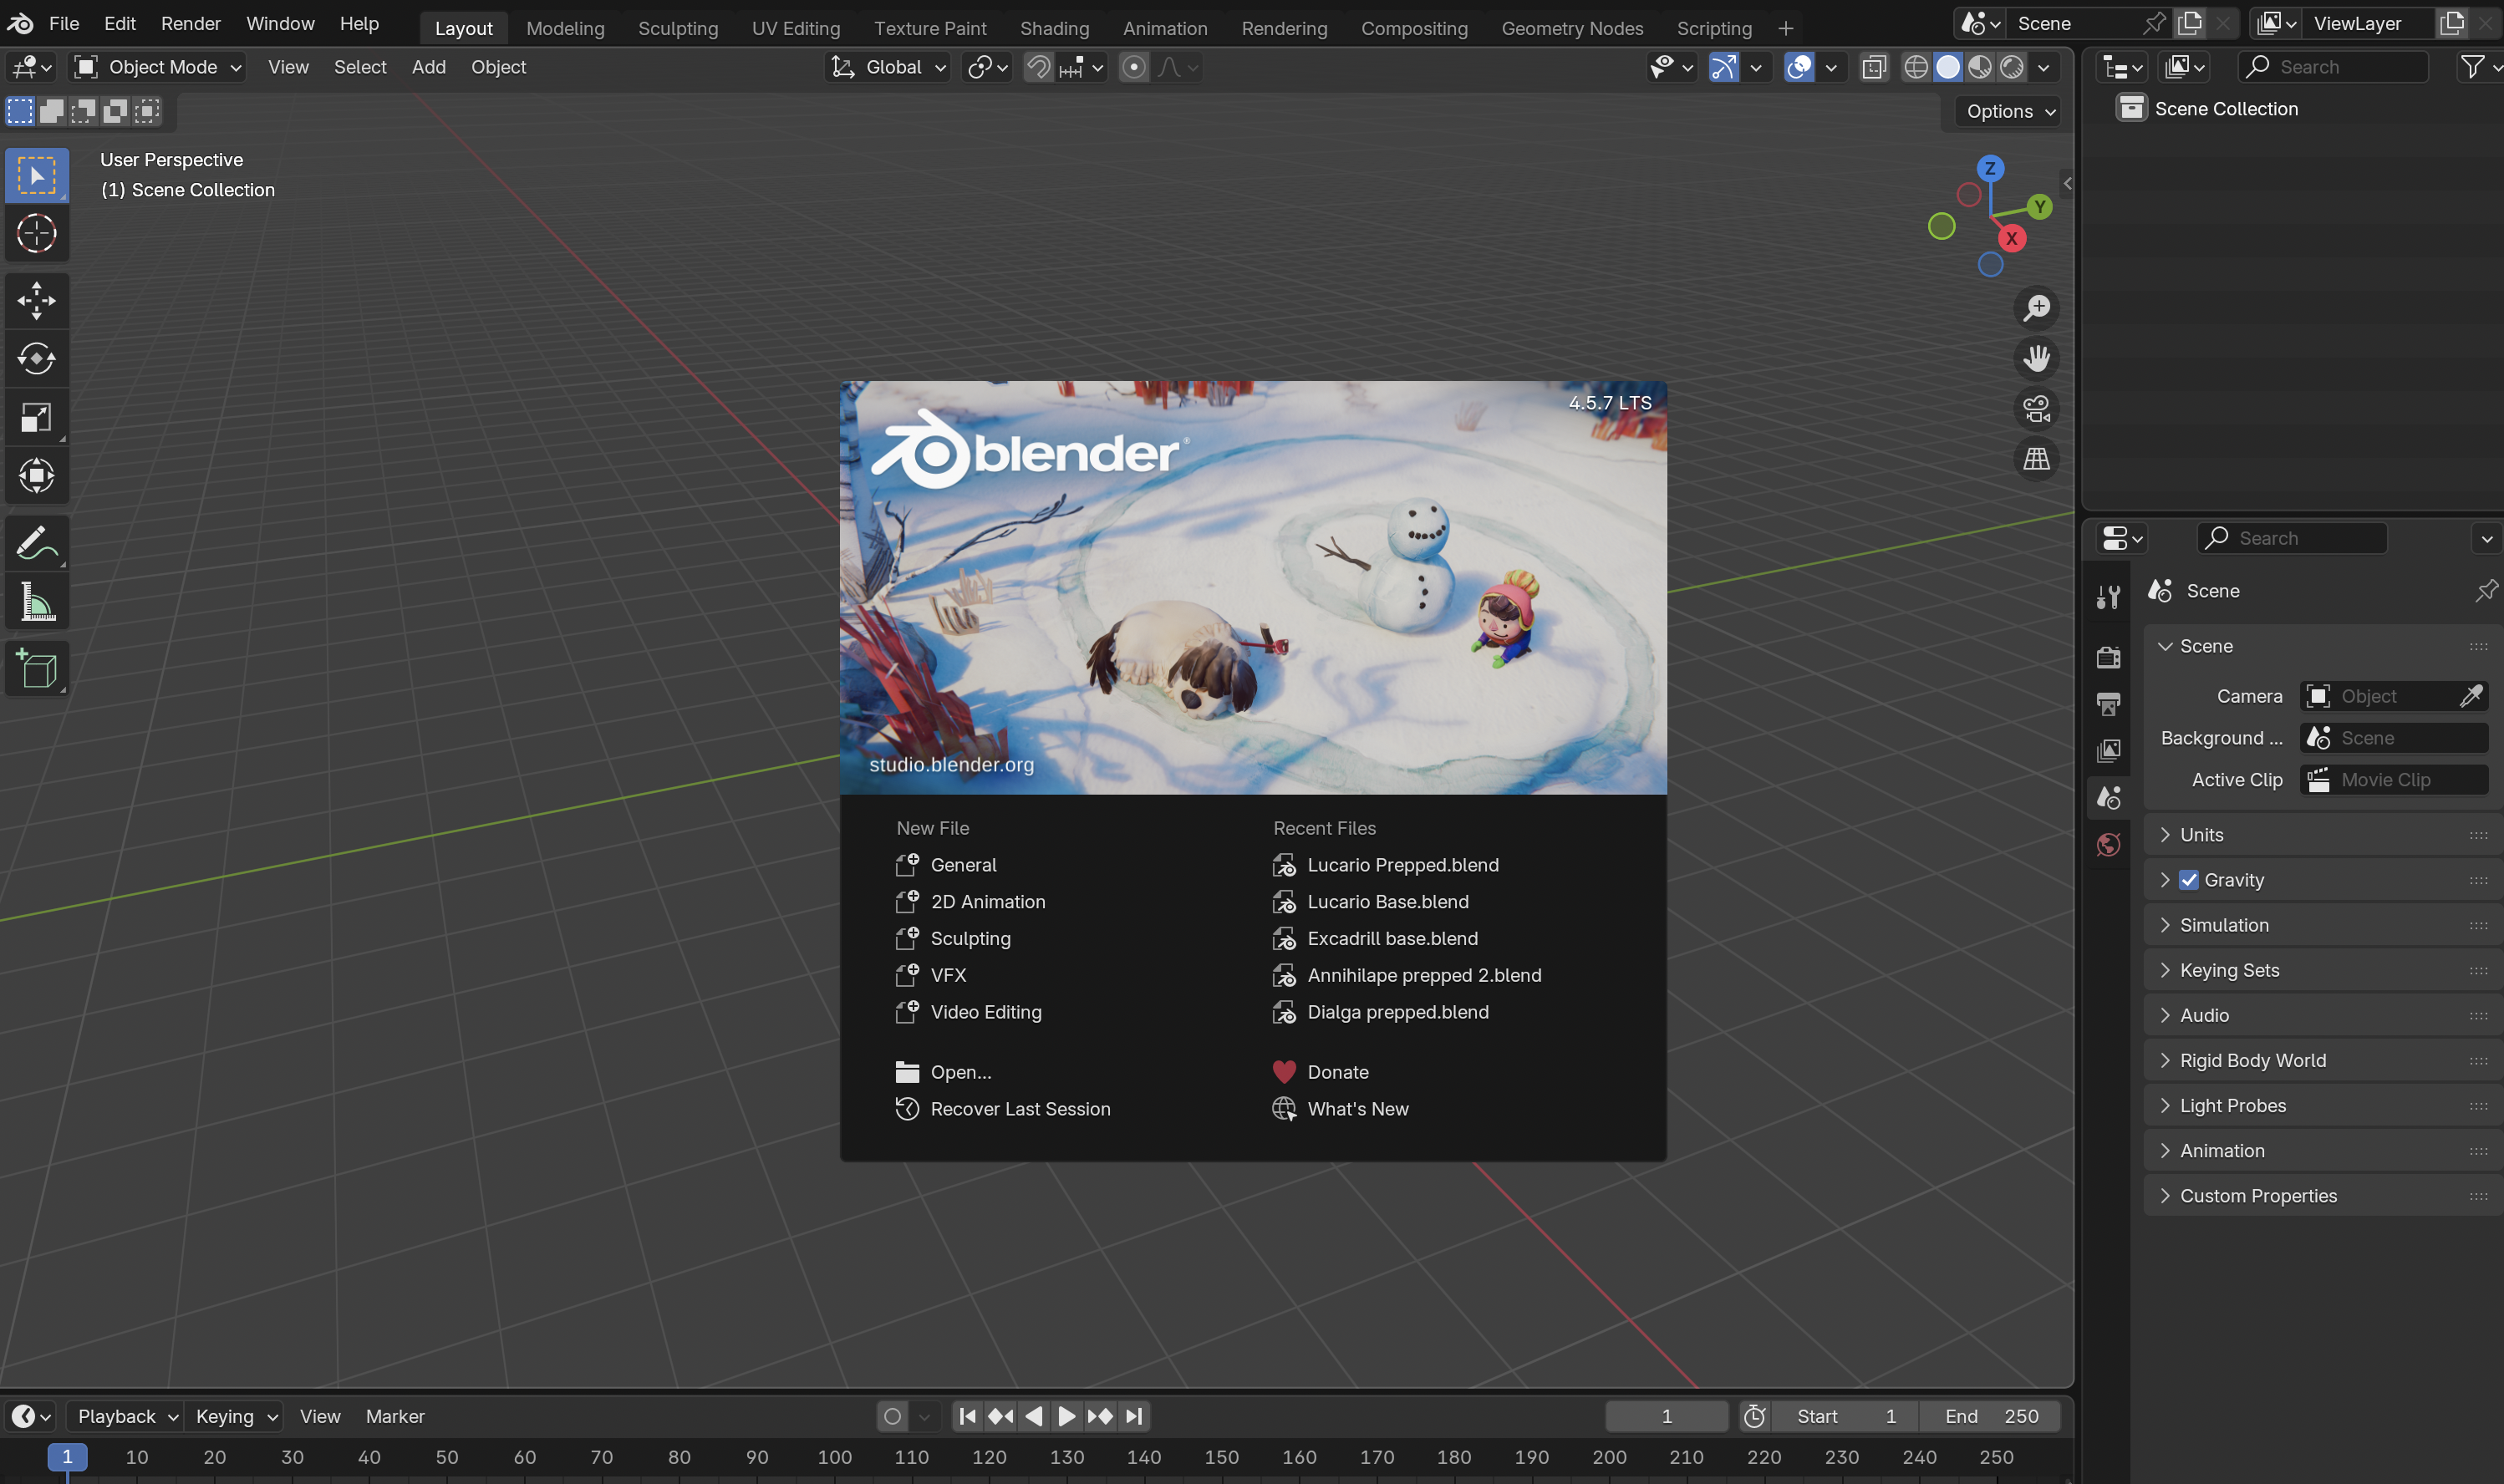
Open Blender. You'll see a splash screen, then the default scene with a cube in the middle. You can dismiss the splash by clicking anywhere outside it.
2. Installing the plugin
The plugin is distributed as a .zip file you drag into Blender. There's nothing else
to install — once enabled, the import and export options appear in Blender's File menu.
Step 1 — Download the plugin
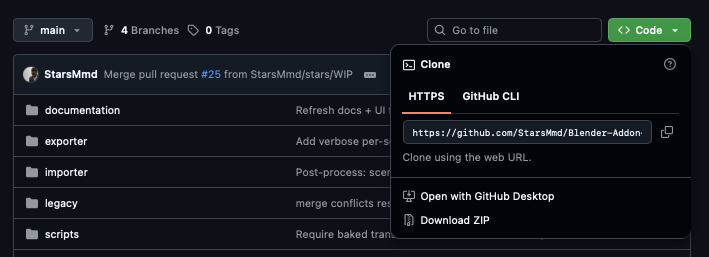
Grab the latest plugin .zip from the
project's GitHub page.
On GitHub, click the green Code button and choose Download ZIP.
Step 2 — Open Blender's Extensions preferences
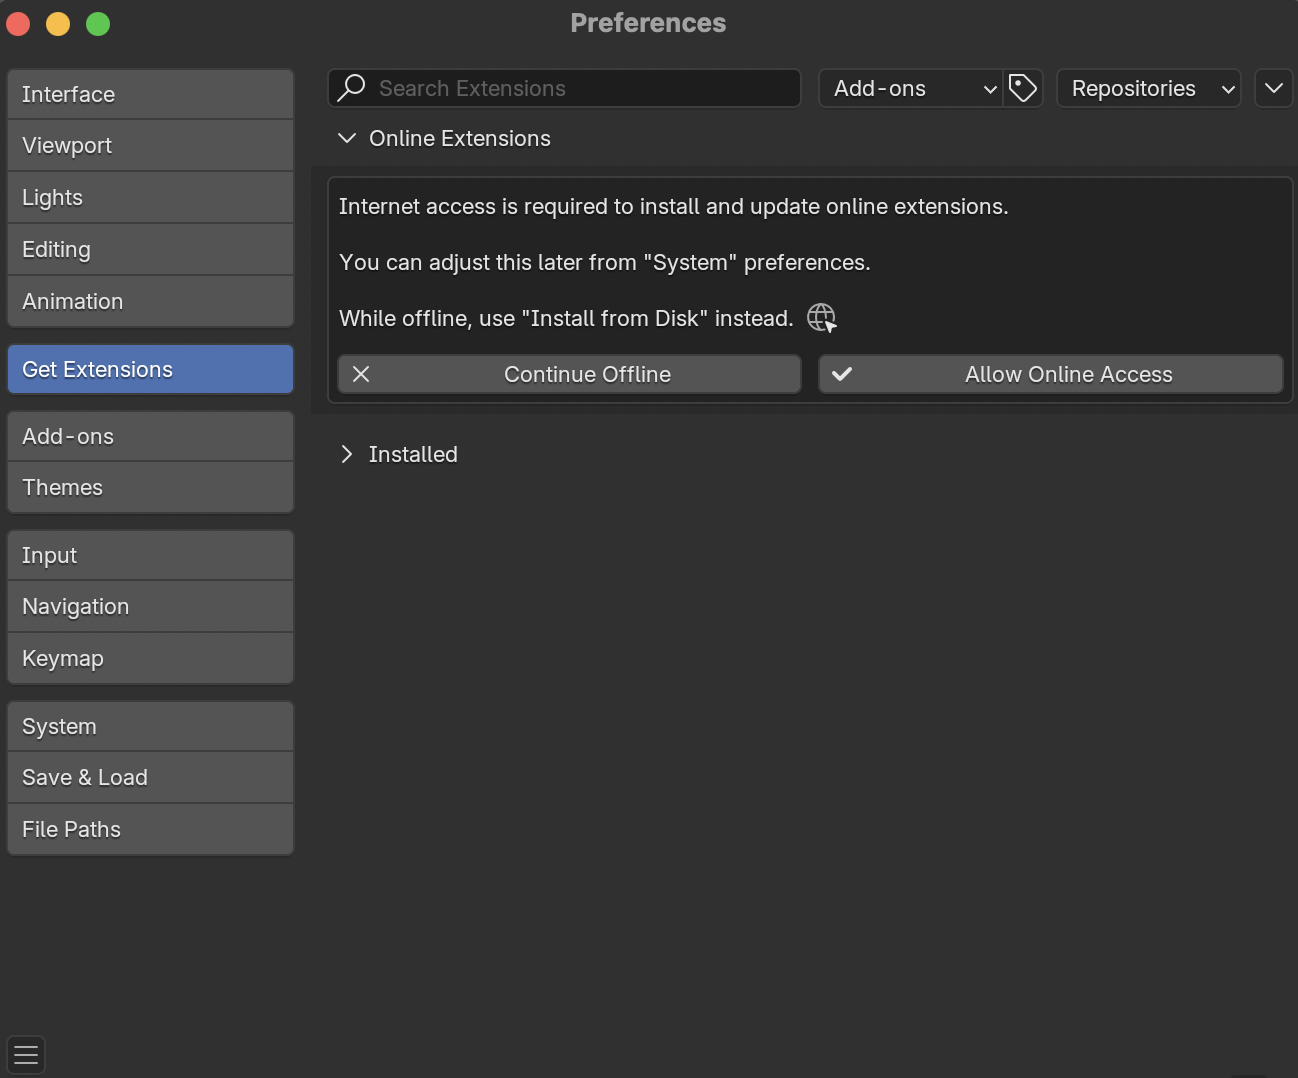
In Blender, open the Edit menu at the top of the window, then choose Preferences…. In the window that opens, click Get Extensions in the left-hand list.
Step 3 — Install the .zip
You have two options:
- Drag and drop: drag the downloaded
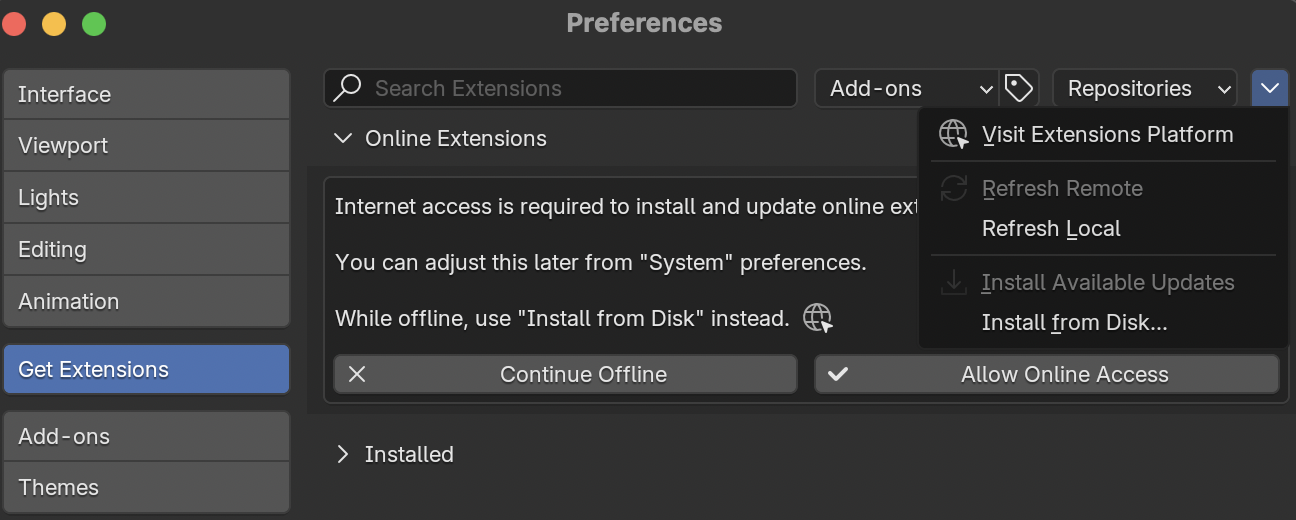
.zipfrom your file browser directly onto the Blender window. Blender will pop up a dialog asking to install — confirm it. - Install from disk: in the Extensions panel, click the small dropdown in the top-right
corner (next to the search box) and pick Install from Disk…. Browse to the
.zipfile and select it.
Step 4 — Confirm the addon is enabled
After installing, the addon shows up in the Extensions list with a checkbox next to its name. Make sure the checkbox is ticked. Close the Preferences window.
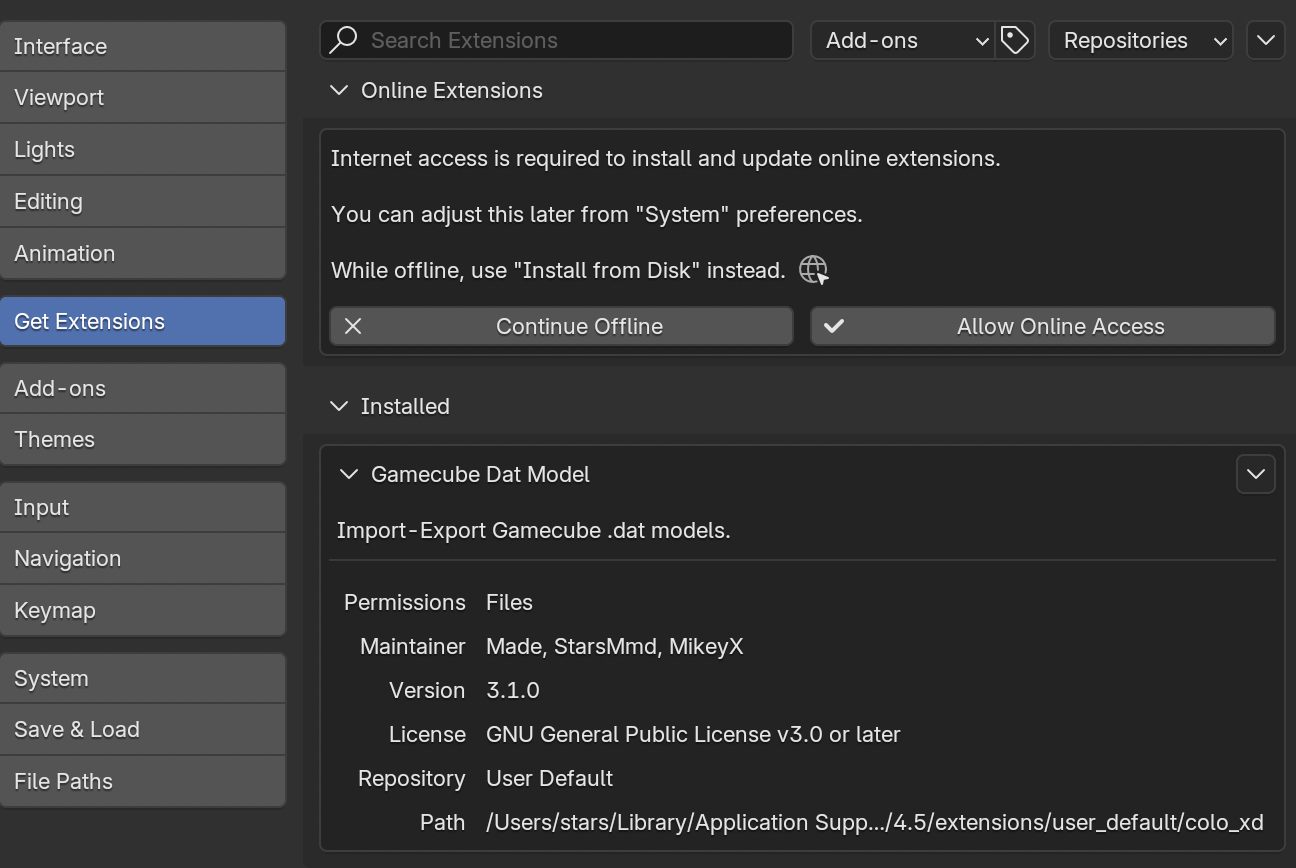
To verify it worked, open the File menu at the top of Blender. You should see a Gamecube model (.dat) entry under both Import and Export.